Sunday, April 29, 2012

Moist Butter Cake

Hi All,

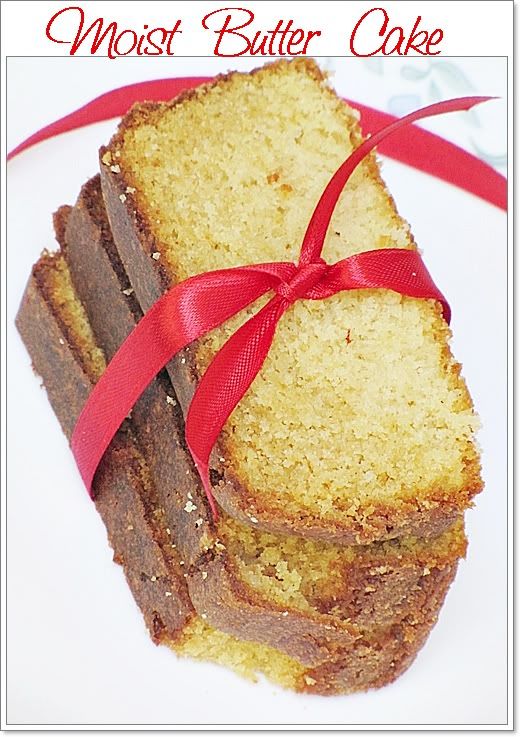
Moist Butter Cake

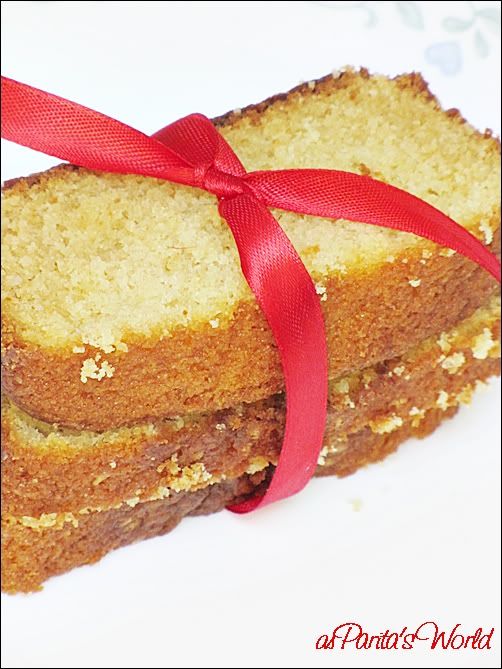
I was craving for some home made butter cake from a long time! Even though I bake cream cakes a lot these days for orders pouring in but the aroma of freshly baked butter cake is out of this world! This recipe is definitely a keeper! The cake turned out so moist and buttery! Its not too oily or heavy at all. The added vanilla takes this cake to another level! 

Its a perfect cake to be enjoyed lazy sunday afternoon with some hot coffee and a book! It perfect cake to be served as snacks for kids or even pack it in tiffin for mid day meal.


Moist Butter Cake

I have adapted the recipe from The Little Teochew
Serves 6 to 8
Moist Butter Cake
Ingredients:-
- 195g all-purpose flour
- 1 1/2 tsp baking powder
- 1/2 tsp salt
- 170g unsalted butter, softened
- 1 cup sugar, 200 gms
- 2 medium eggs
- 2 tsp vanilla essence
- 12 tbsp whole milk


Procedure:-
- Preheat the oven to 175 degress C
- Sieve flour, salt and baking powder.
- Beat sugar and butter together until light and fluffy, about 3 to 4 mins
- Beat in one egg at a time in the sugar and butter mixture until well mixed
- Add in vanilla and mix well
- On low speed add the flour alternating between milk in the egg mixture. Make sure no lumps are there.
- Pour the mixture into greased and floured cake pan.
- Bake for about 40 to 45 mins until a tooth pick inserted comes out clean.
- Cool completely before cutting the cake or else you'll end up with lots of crumbs.
- Always use a serrated knife to cut the cake.
- Serve with coffee or tea as snack or add a dollop of cream fresh and some fruits to serve it as dessert!
- All in all a perfect butter cake!

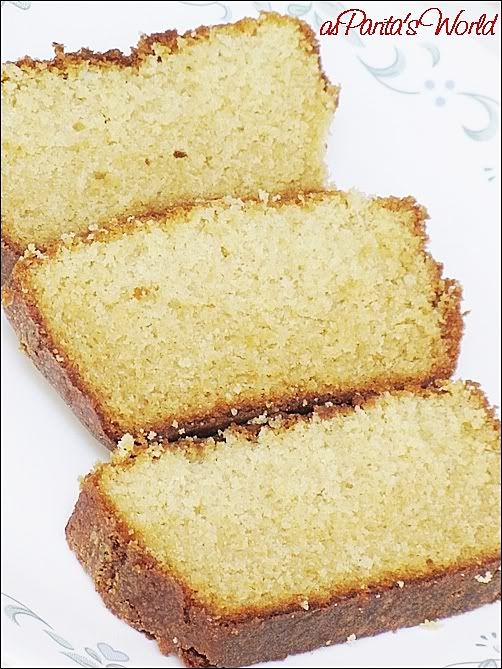
Moist Butter Cake

Just look at those fine cake crumb! Isn't it gorgeous? You can omit vanilla and add in any flavor you like - lemon, butterscotch, orange, cardamon etc or throw in some chocolate chips!. It's very versatile recipe so do try it out and let me know how it turned out!

Until next time take care!

Love,


Wednesday, April 25, 2012

Molten Chocolate Lava Cake

Dear all,

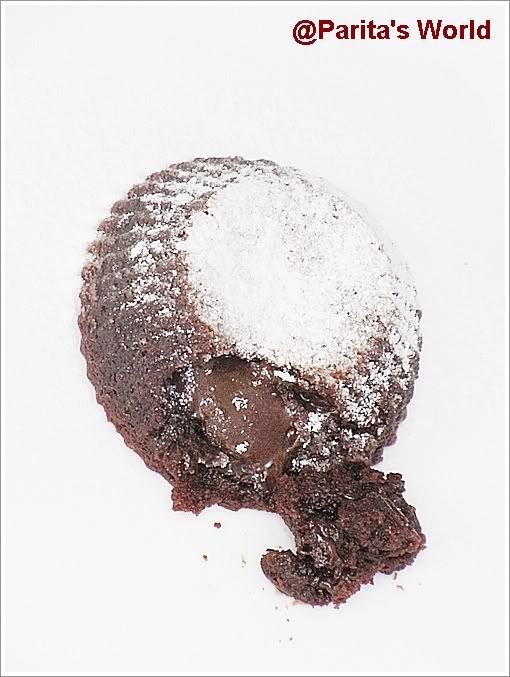
Chocolate Lava Cake

This cake was on my to do list since a long time! Who doesn't like gooey chocolaty chocolate cake which is easy to prepare and is ready in less than 30 mins!! I think the first time I tasted this cake was from Dominos and to be honest never liked it a bit! It leaves weird oily taste behind..yuk!!! I have seen this cake floating around a lot in blogosphere and finally made it this weekend! It's a fool proof recipe though I would like to reduce the sugar a bit as don't really have a sweet tooth but of course you can use the same quantity of ingredients :)


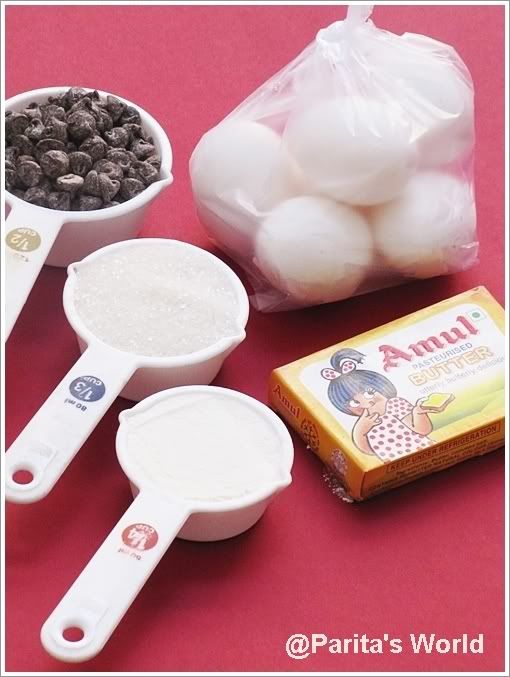
Chocolate Lava Cake - Ingredients

I have adapted this recipe from ShowMeTheCurry.com. I really like those two gujju gals blame me for being biased :P and also most of the recipes tried from their blog has always given me great results! Both Hetal and Tanuja are quite sweet and explain the recipes really well.

Chocolate Lava Cake - Recipe
Recipe adapted from ShowMeTheCurry.com
Molten Chocolate Lava Cake
Ingredients:-
Bittersweet chocolate - 113gms
Butter - 113 gms (I used amul)
2 eggs
1/4 cup all purpose flour - 35 gms
1/3 cup sugar - 70 gms

Procedure:-

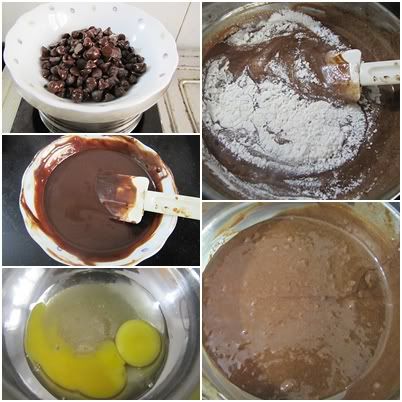
  • Grease 6 ramekins with butter and keep them aside.
  • On a double boiler or microwave melt the chocolate.
  • Once completely melted remove from heat and add in the butter and mix well until butter is completely melted.
  • In a separate clean bowl beat together sugar and eggs until light and fluffy for about 3 to 4 mins.
  • Add the chocolate mixture to the egg mixture and mix well.
  • Now gently fold in the flour until its well incorporated.
  • Preheat the oven at 180 degrees C, fill in 6 ramekins till 2/3 or max 3/4 cup and bake these for exactly 10 to 13 mins! If you bake any longer the gooey center might become hard. Adjust the time according to your preference shorter for gooey and longer for hard center.
  • Immediately serve these with fresh cream or sprinkled some strawberries and icing sugar!
  • Best serve them with vanilla ice cream!

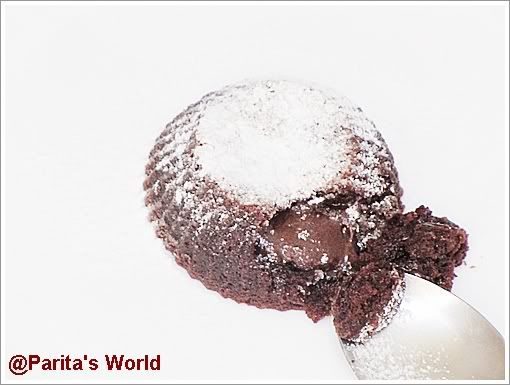
Chocolate Lava Cake

This is gonna be permanent in my house and will be making every week I suppose! Nothing wrong to pamper yourself every once in a while :)

Hope you guys enjoyed the post, incase of any questions or doubts pls post in comments section and I'll get back to you asap!

Thank you and until next time, tc!

Love,


Sunday, April 22, 2012

Weekend Beauty - MAC Groundwork Paint Pot & EOTD

Dear All,

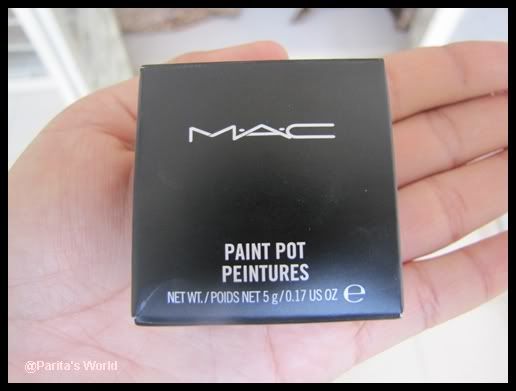
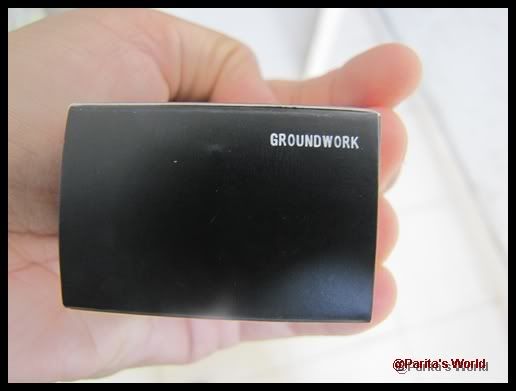
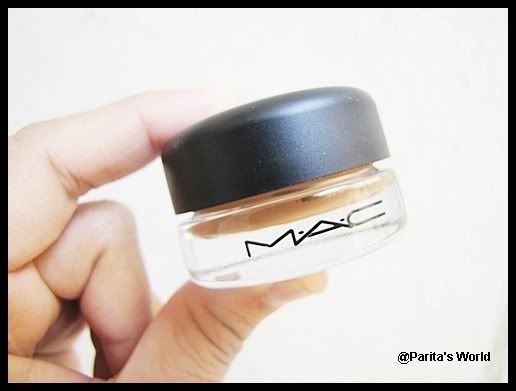
MAC Groundwork Paint Pot


Have you ever thought of makeup as an investment? Well I have started to! I never knew makeup was so expensive! Sure i had seen MAC showroom in Inorbit Mall no of times but never felt like checking it out and to be honest I really thought its one of those high end brands where a lipstick also costs 2000 bucks! I wasn't wrong partly its def a high end brand but it delivers for what its priced at!

How did i come across this product? I have horrible horrible dark circles and dark eyelid area! As i am new to makeup I always go for neutral looks and love playing with browns/taupe colors but due to discoloration around my eye area all browns would look muddy or make me look even more darker! Yikes!

So I was always on a look out for good cream eyeshadow which will cover this discoloration and even make my eyeshadow stay longer! MAC Paint pots have very high ratings and I have seen beauty gurus raving about this product constantly! MAC Painterly is the most common paint pot used over the world but this one goes better for dusky beauties as painterly kinda looks ashy on my skintone!


MAC Groundwork Paint Pot

It comes in a tiny tub and the packing is quite sturdy! Don't go on the looks as this tiny tub of beauty will go on for a long time even if you use it every single day of a year, it should go on for more than a yr! Yes!


MAC Groundwork Paint Pot

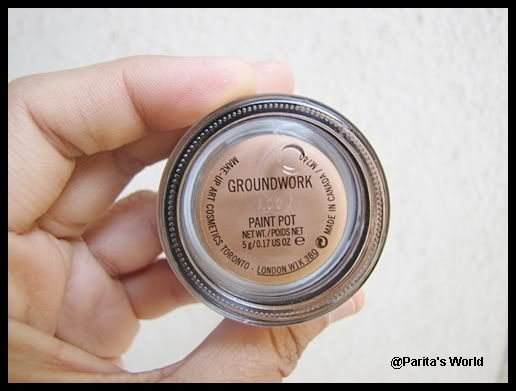
You get about 5gms of product which is very reasonable according to the price and for its long lasting ability! Worth every penny!

MAC Groundwork Paint Pot

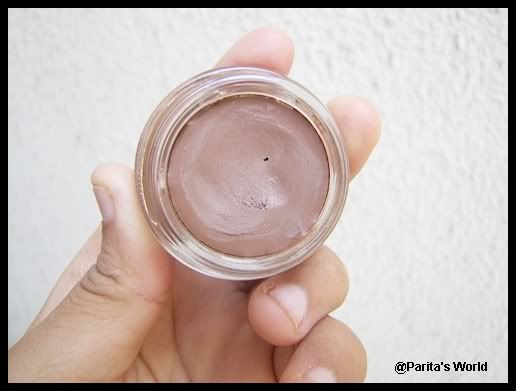
I have been using this baby for a month now and have used every single day! And you can see i haven't even made a tiny dent in the pot :) So you can imagine how long it will go on for me :)


Photobucket

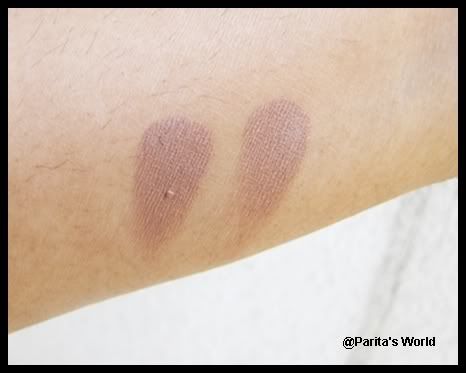
Below are the swatches on medium skin tone, it blends easily and really gives a polished look to your eyes! Its perfect for everyday wear to office also! Its smudge proof and doesn't crease as it can be used as eyeshadow base as well as eyeshadow as well. It stays on my dry lids for easily 8 to 9 hours and can be removed using any cleanser. I use cetaphil cleanser for sensitive skin and never faced any issues.


Photobucket

This is me wearing only MAC paint pot in Groundwork on my entire eyelid, see how it balances out the discoloration on my eyelids and gives a gorgeous polished neutral look!

MAC Groundwork Paint Pot

Hope this review was helpful to all beginners who wants to invest in MAC Paint Pots. I personally would suggest all medium to dusky beauties to definitely try this one as its best and one hell of an investment. Its priced @ 1100 INR and worth every penny!


Wednesday, April 18, 2012

Coconut Coriander Chutney

Dear All,

Photobucket


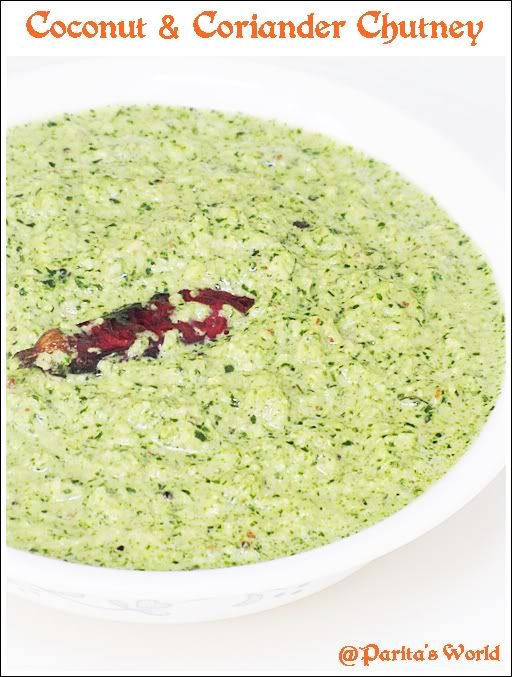
Today I am going to share with you all a quick and easy recipe which I have been making every since I entered kitchen! I love love South Indian food! Dosa, Idli, Vadai, Uttappam, Rasam, Sambhar, etc love all these! What's common between all these? Yes Coconut Chutney! Its my favorite and to go recipe for dosas and idlis and make it quite often!


Sunday, April 15, 2012

Weekend Beauty - Review of Bharat and Dorris Eyeshadows

Dear all,

Today I will be starting a new feature on my blog where every weekend I will review a beauty or a skin care product! Yes you heard it right! It's Parita's World and she has recently ventured into makeup and skin care!
Don't worry I have not turned into a makeup and beauty junkee but I feel make up when used properly makeup really enhances your inner beauty and gives a boost of confidence! Of course skin care is equally important which basically has 4 steps of Cleansing -> Toning -> Moisturizing and Scrubbing atleast 2 times a week to remove dead skin cells and have clean pores!

Photobucket


Tuesday, April 10, 2012

Stuffed Chillies/Bharleli Mirch - Step by Step

Dear All,

Photobucket

I have always loved the dishes made using different kinds of stuffing like besan/coconut or peanuts! Peanut stuffing is very famous in maharashtrian homes. My favorite stuffing would be with besan! After my bharela kanda recipe I had been dying to make stuffed chilies. These chilies i believe are seasonal and you don't find them throughout the year in the market. I found these only during the winter time here in Pune. You can also use the Jalapeno Peppers in place of these.

Lets go ahead with step by step instructions on how to make this wonderful dish!

Recipe adapted from here
Ingredients:-
8 to 10 chillies or jalapeno chillies
1 cup besan
1 cup roughly chopped coriander
3 tbsp of oil
1 tsp mustard seeds
Salt to taste
1/2 tsp turmeric powder
juice of 1/2 lemon
1 pinch of asafoetida (hing)
1 tsp sugar (optional but recommended)

Procedure:-

1) Wash and clean your peppers properly.

Photobucket

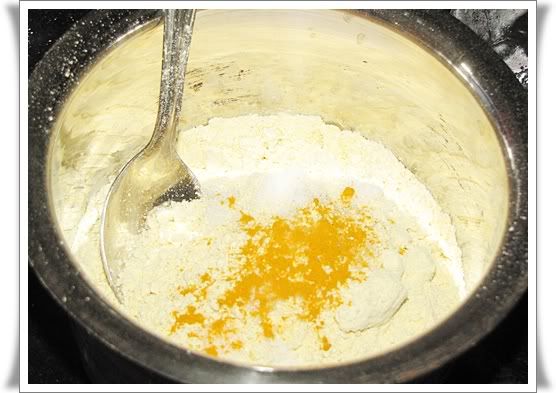
2) To make the stuffing, take 1 cup of besan, add in turmeric, hing, sugar and salt to taste.

Photobucket

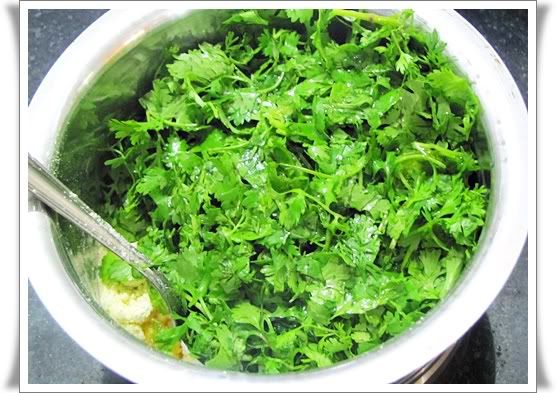
3) Now add in 2 tbsp of oil and chopped coriander. Mix well.

Photobucket

4) Using you hands mix all the ingredients well, DO NOT add any water moisture of oil should be enough for the mixture to come together.


Photobucket

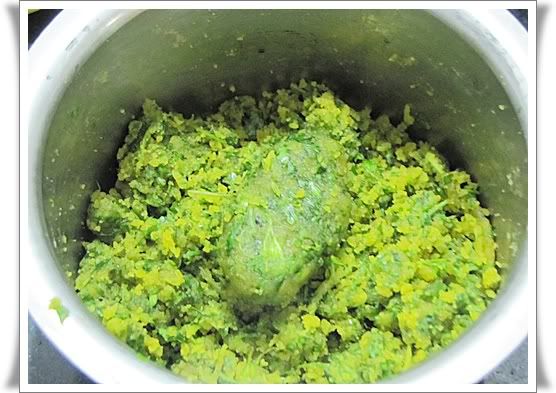
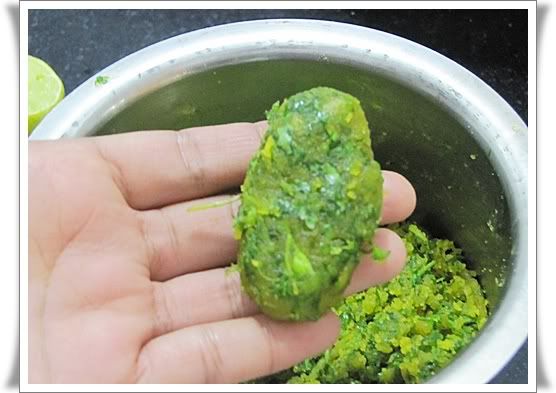
5) Form oval shape balls similar to the size of your chillies.

Photobucket

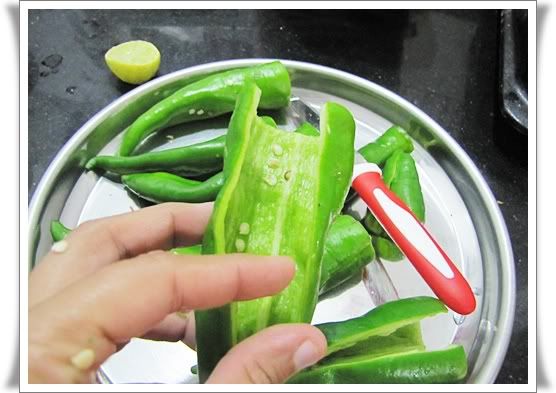
6) Slit the chillies vertically, do not slit it completely.

Photobucket

7) Stuff the besan mixture into these chillies, be careful to not to tear up the chillies while stuffing.

Photobucket

8) Heat 1 tbsp of oil in a non stick pan, add in mustard seeds. Once these start to splutter carefully place in the chillies.

Photobucket

9) Cover and cook the chillies for 15 to 20 mins. Carefully roll the chillies in between to make sure it gets cooked evenly from all sides.


Photobucket

10) Serve as side dish with roti or rice with some curry. I love eating these all by themselves!

Hope you all enjoyed this recipe, please feel free to leave your comments and suggestion below.

Till next time..tc!

Love,


Wednesday, April 4, 2012

Banana Chocolate Chip Muffins For A Sweet Beginning

Dear all,

Photobucket

I know I know I have been away for quite a while and to be honest I really needed this break. Initially it was pure laziness and my hectic work schedule which kept me away from blogging but the good news is I missed blogging so much that now I have finally decided that enough is enough and from now on I'll be regularly posting and updating my blog. 

I am gonna update few things on my blog so you may see quite a lot of changes in the coming few weeks so please bear with me for a while :) Also the Recipe Index is almost done!! Please do have a look and let me know if you have any suggestions :) I have marked recipes which are kids friendly or a cuisine specialty along with some of my most recommended recipes! So do check it out!